Showing posts with label spring. Show all posts

Tuesday, April 19, 2011

Beautiful Butterflies

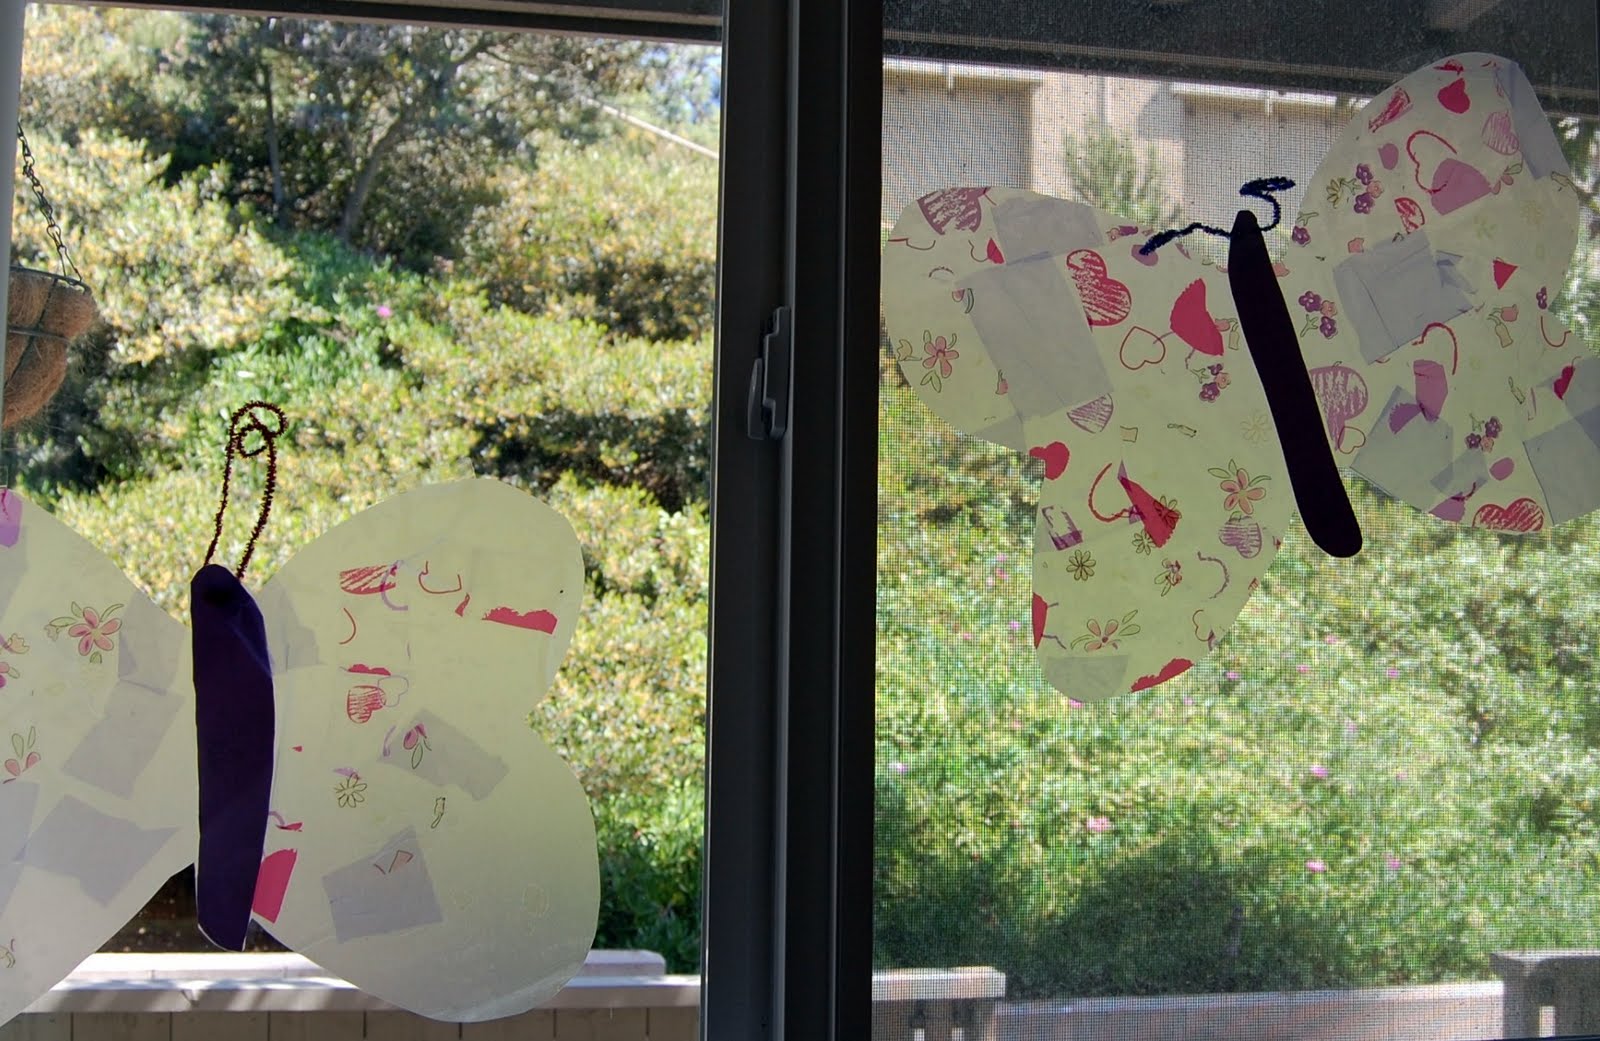
We're still very much working off a "spring" theme for inspiration for crafts etc in this household :)  Here's our latest creation:

Beautiful Butterflies
You will need
* Clear contact paper
* Some coloured celophane (I used celophane gift bags that I picked up on clearance at Michaels!)
* Coloured paper
* Scissors
* Pipe cleaner

What we did:
1) I cut the contact paper into the shape of a butterfly (for the little guy - my daughter managed herself)
Butterfly shape out of contact paper
2) Cut the paper into a butterfly body shape
3) Have the kids cut the celophane into little pieces
4) Have the kids stick the body onto the clear contact paper
5) Let them decorate the wings with the coloured celophane (it's so nice that the contact is sticky and no glue is needed!)
Concentrating on wing design!


6) When they're satisfied with their wing design take the butterfly and put it decorated side down onto the sticky side of another piece of contact paper.  This sandwiches the celophane and the body between 2 pieces of contact paper. 
7) Cut out the butterfly
8) Push a pipe cleaner through the body of the butterfly to create antennae
9) Hang on your window and enjoy your beautiful butterfly!
Beautiful Butterflies

Wednesday, April 13, 2011

Slugs & Snails & Puppy Dogs tails

Well, slugs and snails at least.  The spring weather seems to have brought them out all over our apartment complex.  And ofcourse the warmer weather means we've been outside more, so we're noticing more of the bugs, slugs and snails etc. 

With that in mind we spent some time the other day on a SNAIL craft (although my daughter insisted on adding spots and trying to convert her snail into a ladybug!).  Here's what we did:

Snails
* Empty ribbon roll
* Empty toilet paper roll
* glue or tape
* pipe cleaner
* googly eyes
* paint & paint brushes

1) First I cut the toilet paper roll into pieces about an inch wide. 
2) Then I glued them on to the ribbon roll - to make the head.  (I did learn that the glue doesn't stay stuck all that well if your kid drenches the thing in paint - and resorted to taping the heads on later.  So maybe using tape would be the best option here!
3) Let the kids paint their snails in whatever colours they like (as I said, my daughter added spots to hers!)

Painting the snail


4) Once dry poke 2 holes in the top of the snails "head" and thread a pipe cleaner through to make the "eye stalks/antennae/sticky-outie things" on the snails head
5) Add googly eyes
6) There you have it - very cute snails :)

Friday, March 25, 2011

Resurfacing and.... Letter R Rabbit

Where have I been (incase anyone noticed I was missing)...  Well, my Mum was here visiting from Swaziland.  We get to see her once a year, for about 2 weeks, and have to pack a ton of stuff into that short amount of time.  We definitely did do a LOT this time, and had tons of fun, in the midst of school, preschool and other activities too.  We did SeaWorld, and Hollywood, and the seals at the Children's Pool and an art museum, the library, the Mt Soledad Cross, Old Town, Baskin Robbins (lol) and so many other things.  It's wonderful that my Mum (who's terrified of flying) travels all the way across the world to see us.  The kids love it, I love it, it's awesome.  Except the end, when she leaves and we have to say goodbye for another year.  Luckily we live in the days of internet, email and skype, so we'll still be in touch.

It's been a while since she left though, and we've been slowly getting back into our routine.  The little guy and I even managed to do a letter recognition activity this week.  We're working on the letters of his name, and "R" is the next one to learn.  Since it's springtime I figured that a Letter R Rabbit would be perfect!

Letter R Rabbit
What you need:
  • 3 different colours of construction paper
  • glue
  • scissors
  • googly eye
  • cotton balls
What we did:
    
    Sticking on the cotton balls for a really fluffy tail
    
  1. I cut out the letter R from beige construction paper, I also cut a small circle from this colour (for the tail).
  2. I cut out some ears, a nose and some feet from pink paper
  3. My little guy glued the letter R to the green piece of construction paper.  Then I showed him how we were going to make it into a rabbit, so he could glue on the ears, feet, nose and tail too.
  4. 
  5. He stuck on the googly eye (and was a little concerned about it only being one eye - it was hard to explain the whole "viewing it from the side" concept!)
  6. He stuck the cotton balls onto the circle, creating a cute fluffy white tail for the rabbit.
It was quick and fun (and turned out cute) - yay!  Afterwards we read "Pat the Bunny", which is also really cute (if a little young for my kid - he liked it anyway).
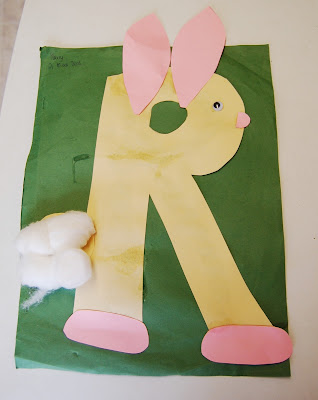
Letter R ~ Rabbit